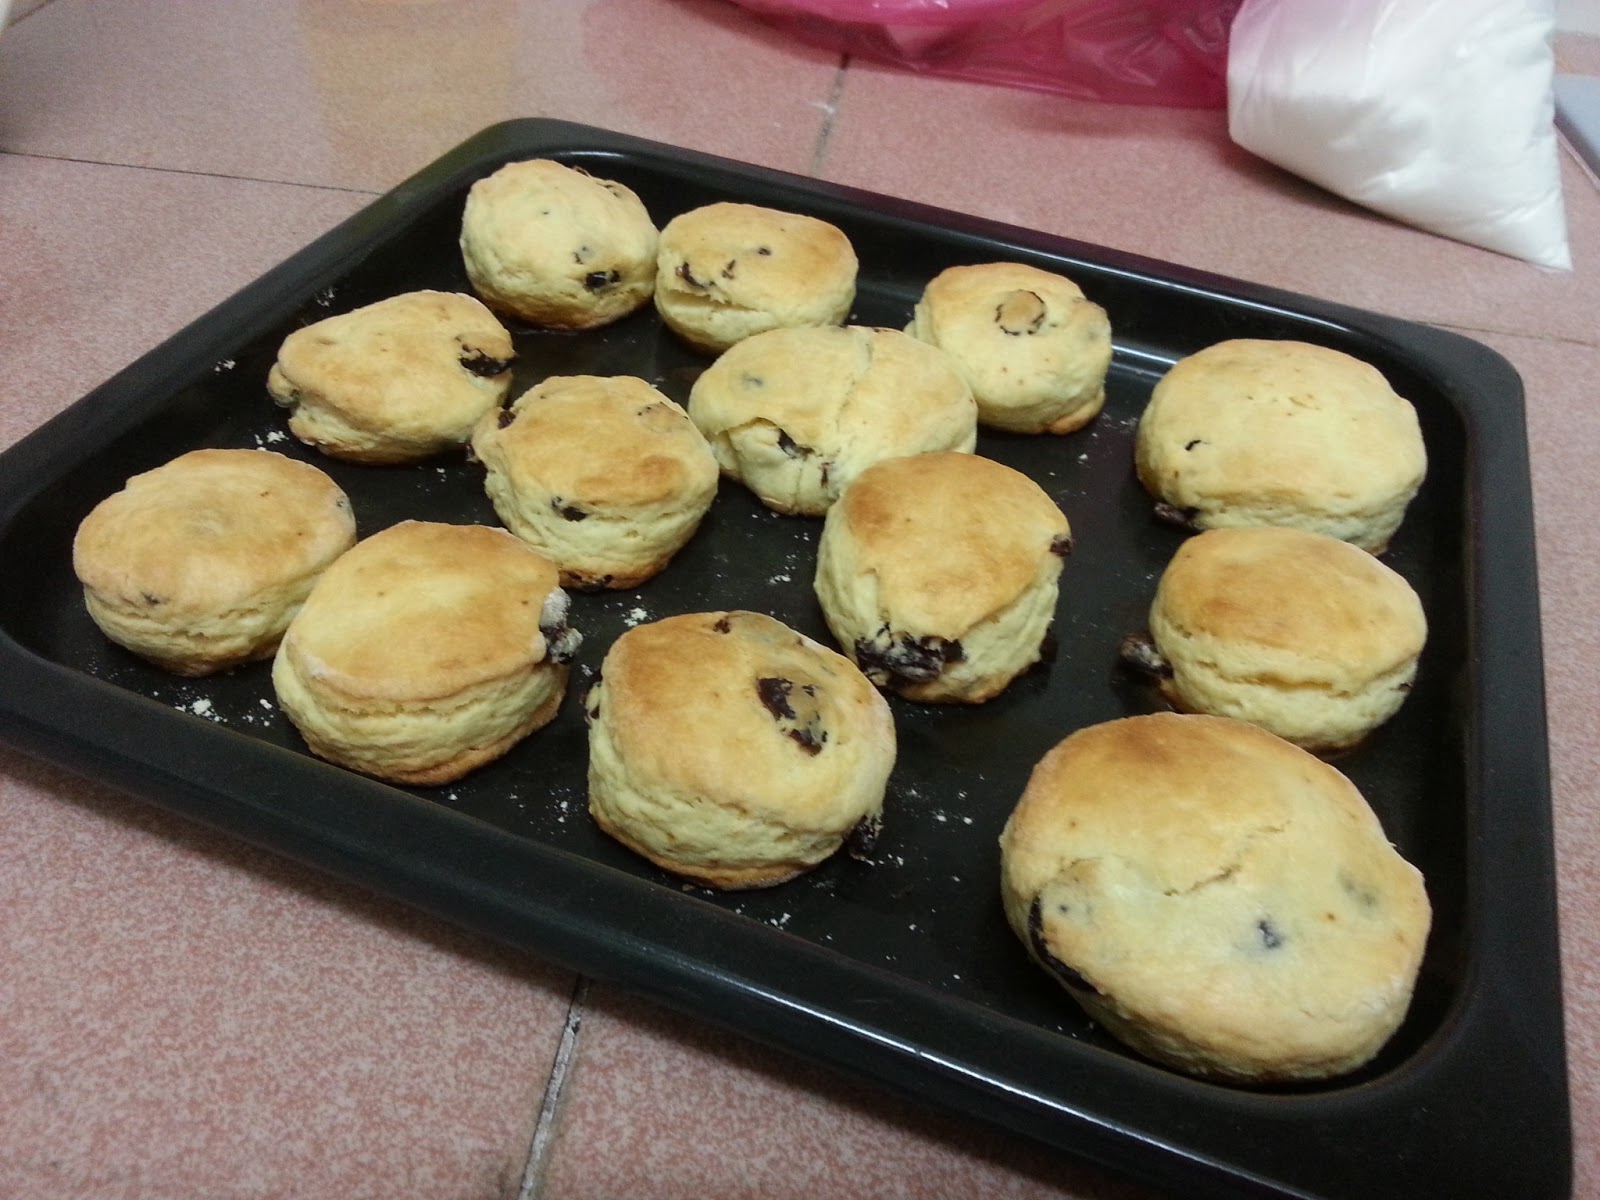
So... I tell myself must try to make scones one day! It is hard to describe my happiness with words when I was able to make it!:D
私は非常に多くのスコーンが大好き!それは私のお気に入りの一つです!通常、私は私のお気に入りのパン屋フォーリーブスのベーカリーからスコーンを購入。彼らのスコーンは本当に素敵です!または...私は暖冬から購入し、彼らのスコーンは、私には高価なビットであるようにしかし、それはブルームーンで一度だけ発生した...しかし...それはあまりにもおいしいを味わう!それは以前とは異なる味です。
だから...私は自分自身がいつかスコーンを作ってみる必要があります教えて!それは私がそれを作ることができたとき、言葉で私の幸せを説明するのは難しいです:D

Picture 1
Picture 2

Picture 3

Picture 4

Picture 5

Picture 6

Picture 7
.jpg)
Picture 8

Picture 9

Picture 10

Picture 11

Picture 12
Picture 13
クランベリースコーン
約13個
成分:
200グラムの低グルテン小麦粉、ベーキングパウダー小さじ2(6グラム)、50グラム無塩バター
2グラム塩30グラム細かい砂糖、卵1個、プレーンヨーグルト80グラム(香料なし)
*プレーンヨーグルトの面では、あなたは牛乳に置き換えますが、10グラム減らすことができます
準備作業:
すべての材料準備ができて、30分間、すべての材料を冷蔵
小さなキューブに冷蔵庫とカットから除去バター
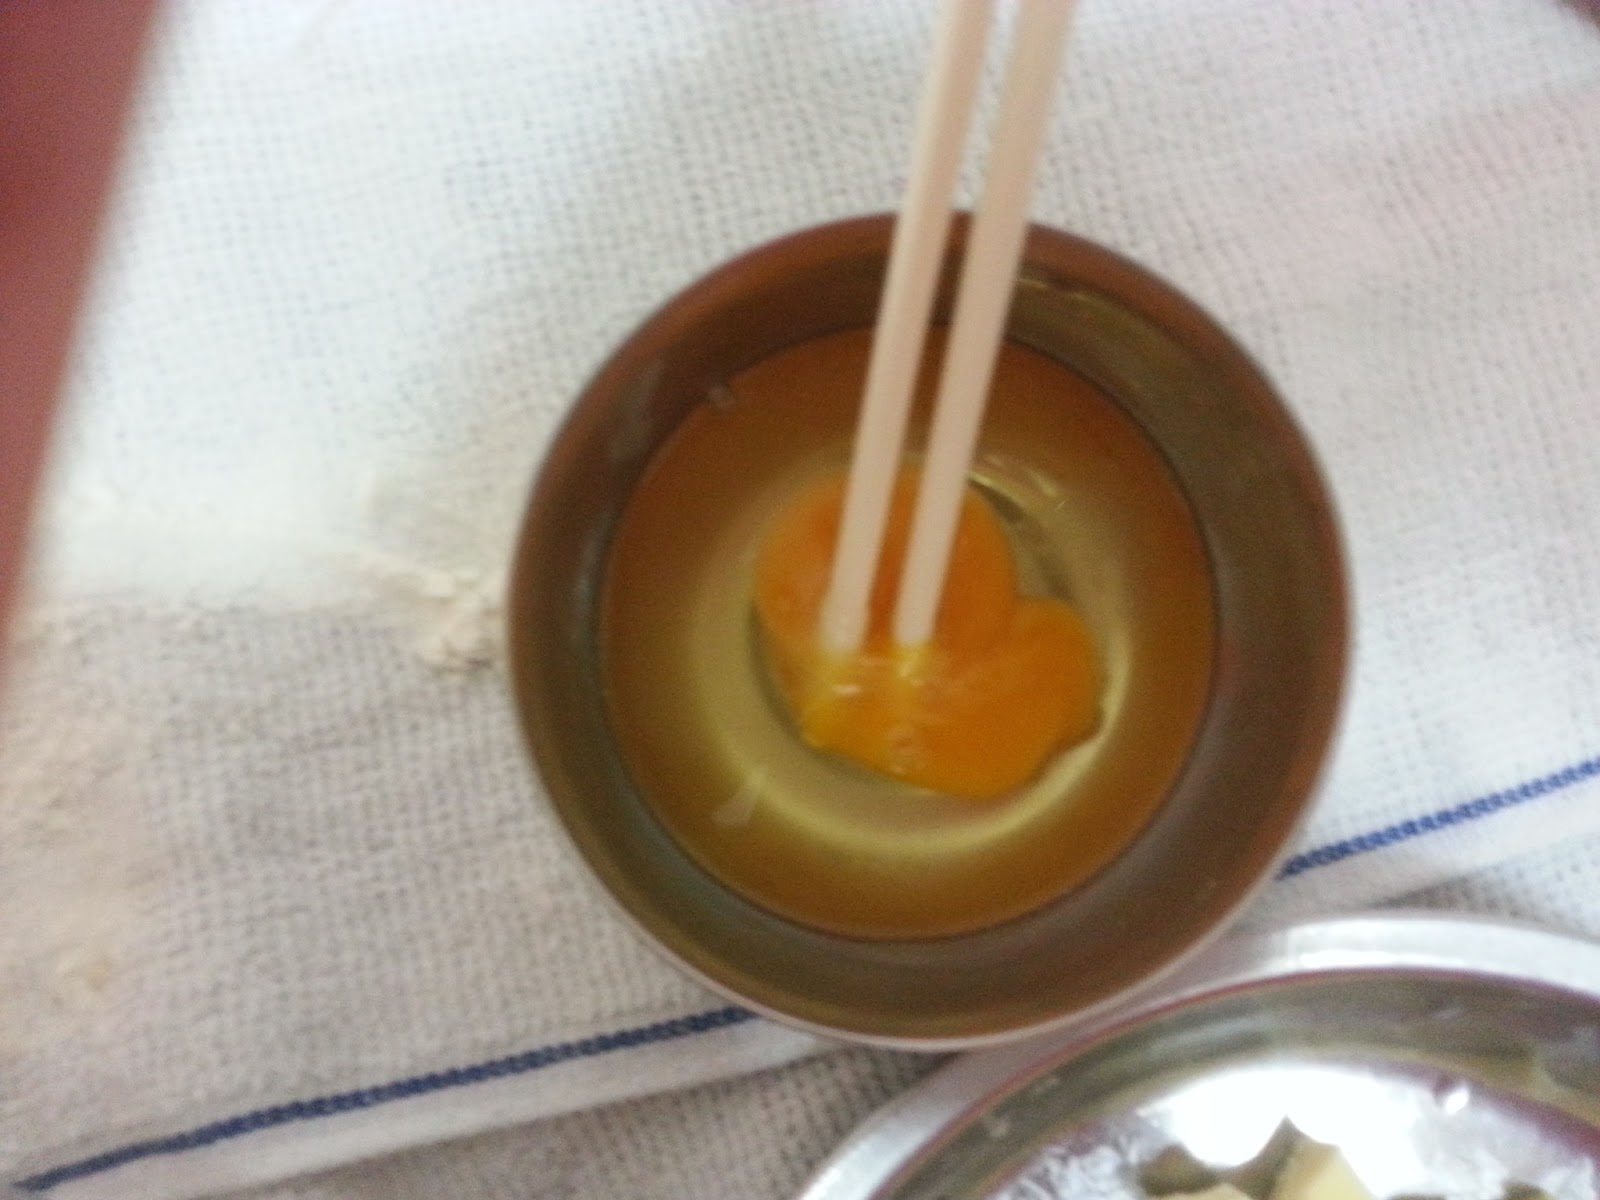
(タンパク質と卵黄を混ぜて長すぎるだけ勝てませんが、必要があります)卵を溶く
低グルテン小麦粉にベーキングパウダーを加え、小麦粉をふるい、よく2回を混ぜる
ステップ:
1低グルテン小麦粉とベーキングパウダーをふるいにかけされた後、スチールボールに微糖に追加してから、バターキューブに追加します。
2あなたが緩い状態での混合を得るまで小麦粉とバターをカットし、混在させるプラスチック製のスクレーパーを使用しています。
カット、ミックス手段が混合を押さないでください、それはほとんど私たちが肉をミンチ方法が好きです。
(このプロセスが完了するまでにしばらく時間がかかります)
3あなたは食品ミキサーを使用している場合は、上記の材料をフードミキサーで10〜15秒のために迅速に混合することができます。
4それらはすぐに手で生地に、卵液とヨーグルトを混ぜ注ぐ。
(約30秒混ぜ、それをこすってはいけません)
5少し四角い生地にそれを形プラスチックラップ(PEがラップしがみつく)で生地を包みます。 30分間冷蔵庫で冷やします。テーブルの上にいくつかの低グルテン小麦粉をふりかけ、冷蔵庫から生地を取り除く癒着を避けるために、生地の表面にあるいくつかの低グルテン小麦粉を振りかける。
6長方形に生地を平らにし、左右からそれを折る。平らに生地でお好きなドライフルーツのいずれかを追加して、再びそれを平らにする。
(ドライフルーツを混ぜて倒し、3回のためにそれを平らにする)
7最後に、厚さ約2.5センチメートル生地を平らにする。小さな丸い形をした生地を押すように丸いモールドあるいはガラスを使用しています。再び、残りの生地を集めて、再びボールに残りの生地をつまむ。再びそれを平らにし、すべての生地まで、再び丸い生地を押してください。 (最後の生地では、手でそれを形作ることができます)
8ベーキングパン(間に十分なスペースがあることを確認してください)上できちんとそれらを整理、ミルクの層で表面を磨く。
9摂氏200度に予熱したオーブンで焼く。表面がキツネ色に変わるまで、12から15分間焼く。
10あなたの好きなジャム、はちみつ、バターと一緒に食べることができます。
11スコーンに少量の水をスプレーして、次の日にそれを食べたときに、それを加熱。それは美味しいでしょう。
Cranberry Scones
About 13 pcs
Ingredients:
200g Low-gluten flour,
2 teaspoons baking powder (6g), 50g unsalted butter
2g salt , 30g fine
sugar, 1 egg, 80g plain yogurt (without flavouring)
* In terms of plain
yogurt, you can replace it with milk but reduce 10g
Preparation work:
Ready all materials,
refrigerate all materials for 30 minutes
Removed butter from
the refrigerator and cut into small cube
Beat the egg( just
need to mix protein and yolk, do not beat too long.)
Add baking powder to the
low-gluten flour and mix well, sieve the flour 2 times
Steps:
1. After
the low-gluten flour and baking powder are sieved, add in fine sugar into the
steel bowl, then add in the butter cubes.
2. Use a plastic scraper to cut and mix the
butter with the flour until you get a mixture in loose state.
Cut and mix means do not press the mixture, it almost like the way we
mince meat.
(This
process takes some time to complete)
3. If you have a food mixer, the above materials can be mixed
quickly for 10-15 seconds with the food
mixer.
4. Pour the egg
mixture and yogurt, mixed them into a dough by hand quickly.
(Mix
for about 30 seconds, do not rub it)
5. Wrap the dough with plastic wrap (PE Cling
Wrap), slightly shaped it into a square dough.
Refrigerate for 30 minutes. Sprinkle some low-gluten flour on the table, remove
the dough from the refrigerator, sprinkle some low-gluten flour on the dough's
surface to avoid adhesions.
6. Flatten the dough into a rectangle, fold it
from the left and right. Flatten it again, add any of your favourite dried
fruit on the flatten dough.
(Fold and flatten it for three times to mix the dried fruit)
7. Finally flatten the dough about 2.5cm thick.
Use the round mould or glass to press out small round shaped dough. Collect
again the remaining dough and pinch the remaining dough into a ball again. Flatten it again and press out round shaped
dough again until all dough. (For the last dough, you can shape it with hand)
8. Arrange them neatly on the baking pan (make
sure there are enough space in between), brush the surface with a layer of milk.
9. Bake them in a preheated
oven to 200 degrees Celsius. Bake for 12-15 minutes until the surface turn into
golden brown.
10. You can eat it with
your favourite jam, honey or butter.
11. Spray a little
water on the scones and heat it when you eat it on the next day. It will be
delicious.
蔓越莓司康
约13个
材料:
低筋面粉200g,泡打粉2茶匙(6g),无盐奶油50g,
盐2g,细砂糖30g,鸡蛋1粒,原味优格80g,
*原味优格若以牛奶代替份量減少10g
事前准备工作:
1.所有材料准备好,放入冰箱冷藏30分钟
2.奶油从冰箱取出切小丁
3.鸡蛋打散
4.泡打粉加入低筋面粉中混合均勻,筛2次
步骤:
1.低筋面粉和泡打粉筛后加入细砂糖放入钢盆中,然后将奶油小丁加入。
2.使用塑胶刮刀用切拌的方式将奶油与面粉混合成松散的状态。
(这个过程需要一点时间, 记得奶油丁必须是冰的)
3.若有食物搅拌机,可以将以上材料用食物搅拌机快速搅打10-15秒
混合均勻。
4.把蛋液及优格倒入,用手快速混合成一塊无粉粒的面团。
(混合约30秒,不要搓揉,避免起筋)
5.混合完成的面团用保鲜膜包起,稍微整成方型放冰箱冷藏30分钟。
5.桌上撒些低筋面粉,将面团从冰箱取出,表面也洒一些低筋面粉避免沾粘。
6.将面团杆成长方形,折三折再桿开,在面团中添加任何自己喜歡的果干,
再折三折,再杆开,再折三折。 (折三折的步骤总共3次)
7.最后将面团杆开成约2.5cm厚的面皮。
8.用原先模或杯子压出小圆团,剩下的面团集合捏压成一团又再杆开压模。
9.间隔整齐排入烤盘,表面刷上一层牛奶液。
10.放入预热至200度c的烤箱烘烤12-15分钟至表面呈现金黄色即可。
11.吃的时候可以剥开涂上喜欢的果酱,蜂蜜或奶油。
12.隔天吃可以稍微喷点水再烘烤加热就恢复美味。


